Many owners often wonder how do you clean a dog's ears? We've put together this handy guide to tell you everything you need to know about cleaning your dog's ears at home.
Many dog owners often wonder: should I be cleaning my dog’s ears? The short answer is, usually, yes. It’s often an overlooked part of your dog’s grooming regime, but for many dogs it is extremely important as it allows you to regularly check for problems or ear infections.
Cleaning your dog’s ears is incredibly easy to do and can be done at home (provided you and your dog are comfortable with it). If you’ve never done it before you may be wondering where to start, which is why we’ve put together this handy guide to tell you how to clean a dog’s ears.
How often should I clean my dog’s ears?
This often depends on your dog. Droopy-eared breeds such as Cocker Spaniels and Basset Hounds will require more regular ear cleaning as the can be more prone to ear infections. This is because longer droopy ears allow less air flow, and debris and moisture may easily become trapped in the ear canal, which can result in a yeast infection.
Dogs that like to swim will also require regular ear cleaning as the extra moisture can predispose them to ear infections. Additionally, you should always be on the lookout for ear mites on your dog as they are also a potential cause of ear infections and can also be transmitted to other pets.
In short, it’s important to clean your dog’s ears regularly enough to avoid infections, but not too often as this can damage the canal or cause irritation that can result in further problems. If you’re unsure, it’s best to ask your vet as they’ll be able to recommend a cleaning schedule that suits your dog’s unique needs.
How to clean a dog’s ears
When considering the best way to clean a dog’s ears, the most important thing is to ensure that your dog is comfortable with the entire process first.
Of course, it’s ideal if you start handling or cleaning their ears when puppies as they’re much more likely to be ok with ear cleaning when they’re older. However, this isn’t always possible, particularly if you have a rescue or an older dog who’s never had their ears cleaned before.
Gently touch and stroke your dogs ears to gauge how they will react. If they don’t seem to like their ears being touched, don’t force it! Never try to clean a dog’s ears if they’re stressed or struggling: this could upset and may also harm your dog. Instead, take them to the vet and they’ll be able to clean them for you.
What equipment do you need?
Before you start cleaning your dog’s ears, ensure you have the following things:
- Damp cotton wool or cotton wool pads.
- Ear cleaner (must be a dog specific, never use products intended for human use).
- A clean towel.
- A second pair of hands (especially useful if your dog is not used to having their ears handled).
- Plenty of treats for during and after the ear cleaning.
It’s also important that you never use cotton buds to clean your dog’s ears as these can be inserted too far into the ear canal and potentially cause damage.
7 step guide to cleaning a dog’s ears:
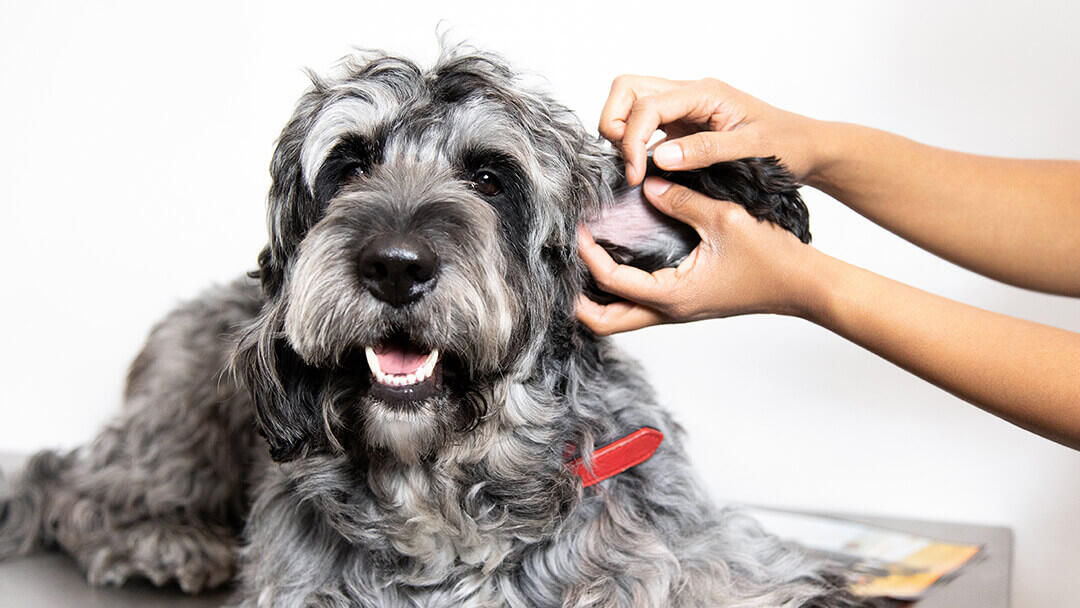
- Ensure your dog is comfortable, then lift their ear, holding it between your thumb and forefinger to get a good look inside the ear.
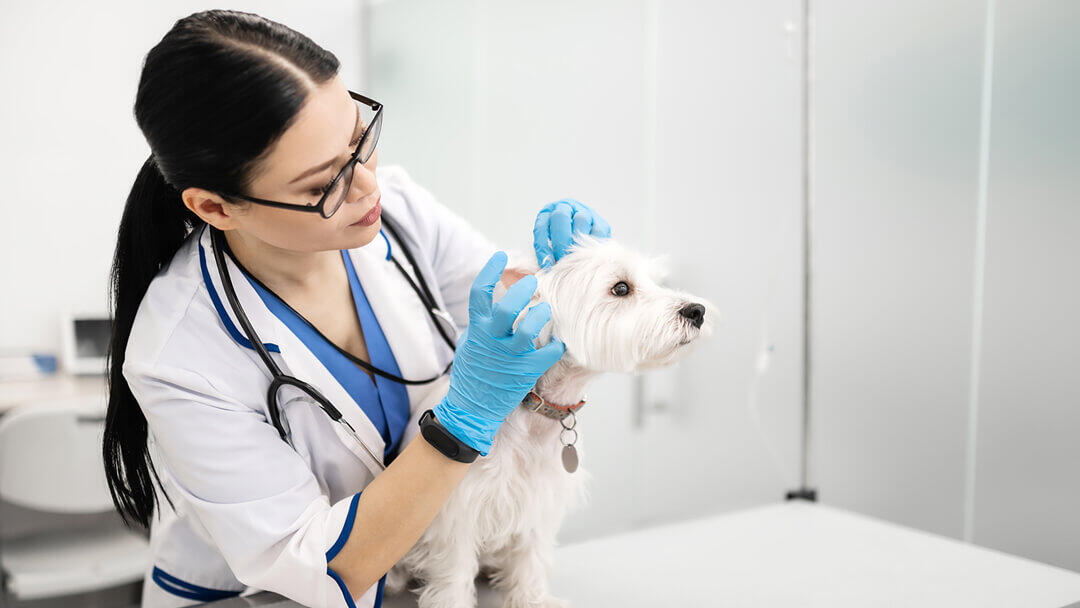
- Examine the ear and check for redness, discharge or a bad smell. It is normal for there to be a small amount of light coloured wax. However, if there is a very large amount, the ears are very red, or there appears to be pus or a malodourous smell, it’s a sign of a problem and will require veterinary attention.
- Gently wipe around the entrance of the ear with damp cotton wool – this will remove dirt or excess wax.
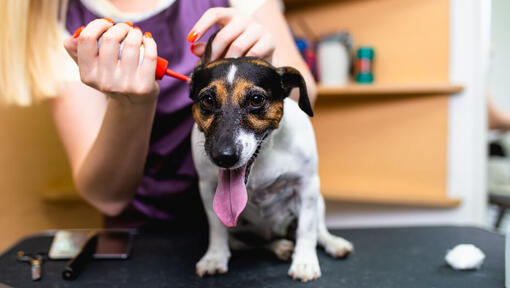
- Insert the tip of your chosen dog-friendly ear cleaner into the ear canal – being sure not to insert it too far – then squeeze the bottle to release the ear cleaner.
- Massage the base of the ear to help the cleaner pass into the ear canal.
- Wipe away any excess cleaner with damp cotton wool.
- Repeat the process for the other ear.
If your veterinarian has given you ear drops to use, it’s best to apply them within a short period after you’ve finished cleaning them. This will ensure that the medicine will enter the ear effectively and be absorbed without getting stuck on excess wax.
When shouldn't you clean your dogs ears?
Part of learning how to clean a dog’s ears is also learning to Do’s and Don’ts that come with it. Dogs can be prone to a number of ear problems, such as ear mites and ear infections. Other dogs can be prone to chronic yeast infections in the ear.
If you suspect that your dog has an infection you may be tempted to clean their ears, especially if you think they smell more strongly than normal or notice a build-up of wax. However, if you clean your dog’s ears when they are infected, you could cause them much more harm than good. Always make sure to check with your vet if you suspect an ear infection, before cleaning their ears.
Signs your dog has an ear infection
If your dog has an infection, they’ll have ears which are sensitive to the touch and they’ll be red and inflamed. They may also shake their head regularly or try and scratch their ears as it’ll feel incredibly irritating for them.
You may notice a discharge coming from the ear too which could be foul-smelling or an unusual colour.
Ear mites can also be the cause of ear infections in your dog. If mites are present, they may have coffee-ground looking clumps, thick black or red/brown crusts and scratches and cuts in and around their ears.
If you think your dog has an infection, be sure to take them to the vet immediately and they’ll be able to prescribe antibiotics and ear drops to clear up any bacterial or yeast infections. Additionally, if the infection is due to a parasite, they will be able to give you the appropriate medication to kill them.
So, now you know how to clean a dog’s ears! Be sure to check their ears regularly and always be on the lookout for anything unusual.
Next, find out more about some of the most common dog skin problems and the signs to watch out for.

